Tools - Neck Tenon Jig
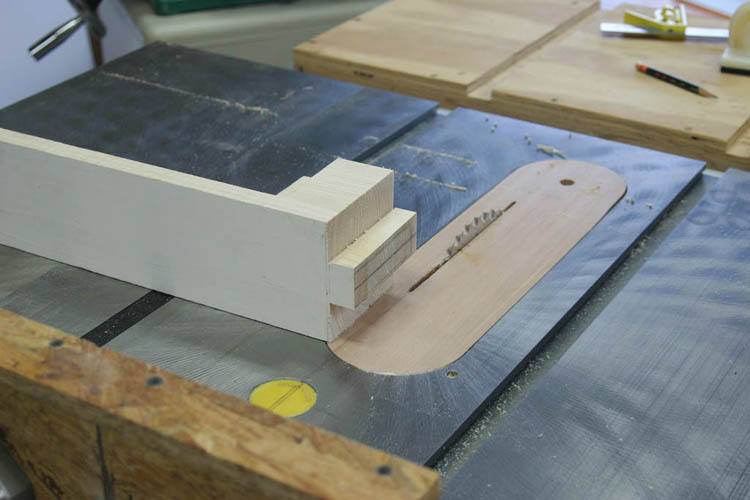
Here's a scrap neck with a tenon roughed out on the table saw.
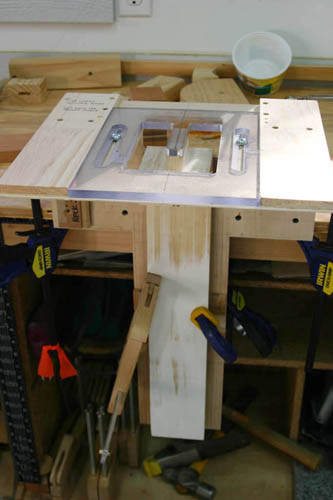
Below is the scrap neck in the jig.
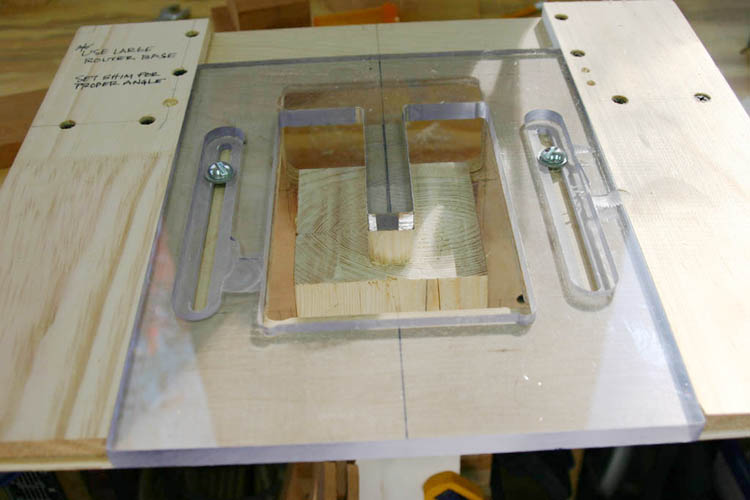
And here's a close-up of the template and tenon.
Blackwater River Guitars
Tools - Neck Tenon Jig
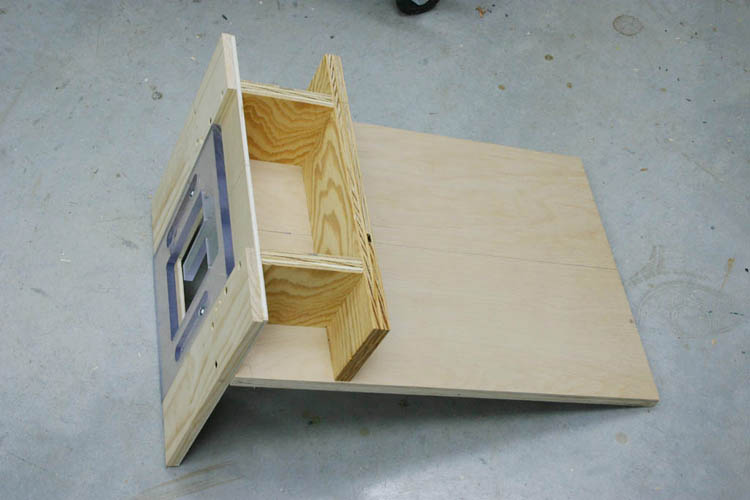
Version 1 - Modified Stewmac design
My first version is shown in the photo on the right. You can click on the photo to see a larger picture.
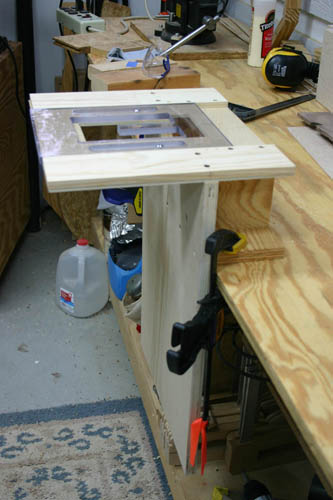
It is identical to the Stewmac design except for the back which I modified so I could clamp it to my workbench top.
Here's the modified back that allows me to clamp it to my workbench. I'm not sure how Stewmac intended for their's to work.
I made my own template with a scrap piece of plexiglass that a my brother-in-law, Dick, was tossing out.
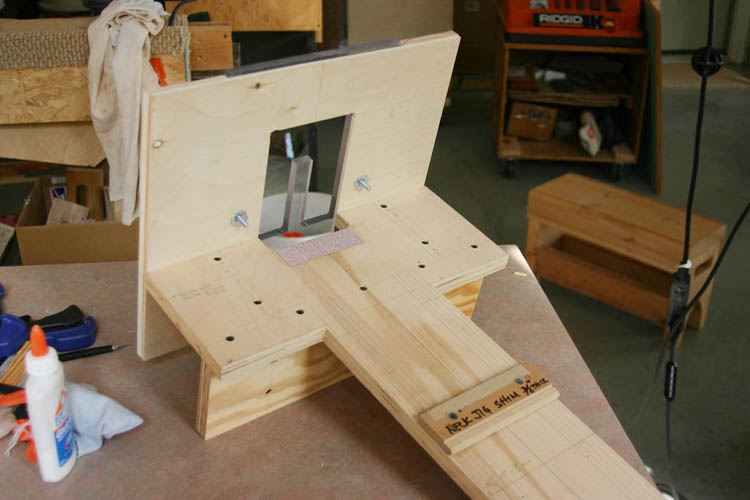
Version 2 - Trimmed sides, reference lines, sandpaper friction
After fiddling with the jig shown above, I thought I could make it easier to use with a couple of other changes. My current version is shown here.
I trimmed the sides to make it easier to clamp on the neck. With the original design, you needed deep throat clamps to clamp the neck in place.
Next, I added a bunch of vertical reference lines to help center and align the neck.
Finally, I glued some sandpaper to the shims that set the neck angle to help hold the neck in place when you're pushing a router around it. The sandpaper works really well and you don't have to clamp the neck so tight.
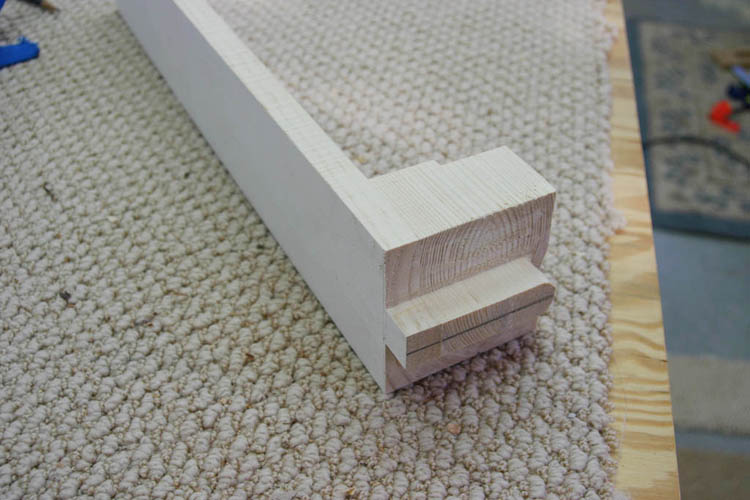
And here's the completed tenon on my scrap neck.
.
.
.
.
.
.
.
Version 3 (Feb 2015) - Dust port, plastic tub shield
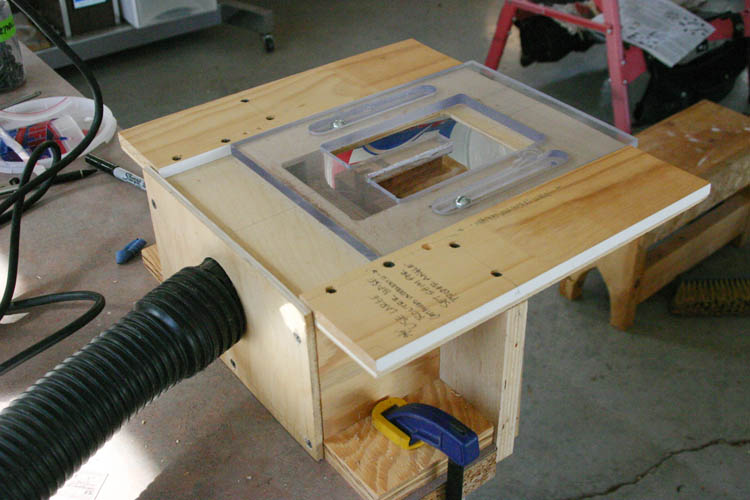
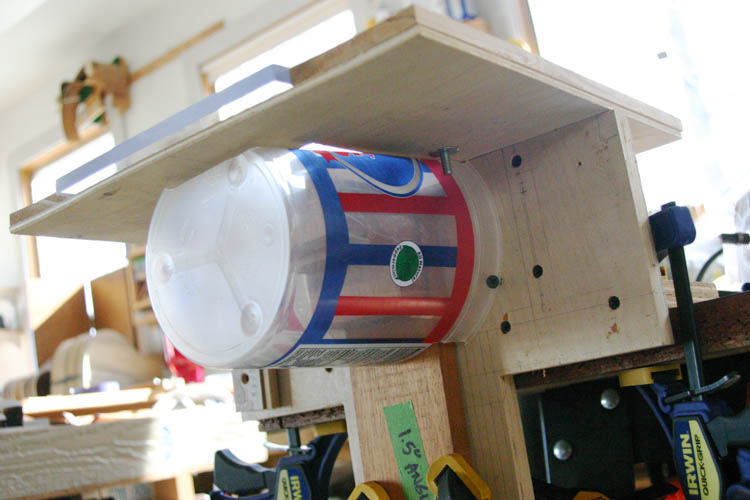
With these additions, all of the dust and chips are collected by the shop vac.