Methods - Soundport Binding
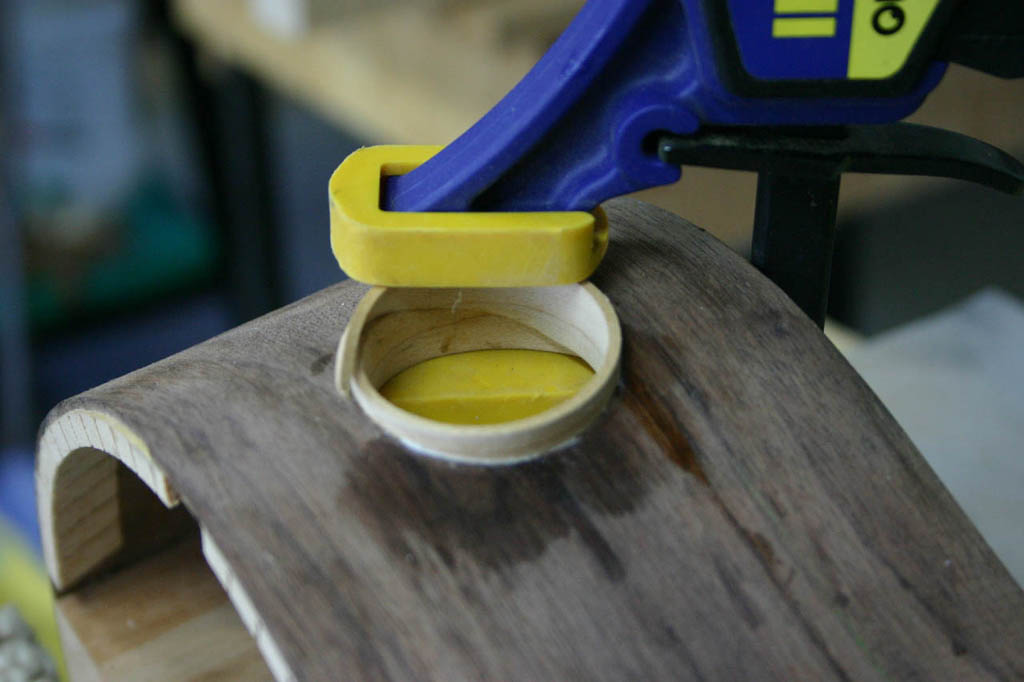
Clamping the Soundport Binding
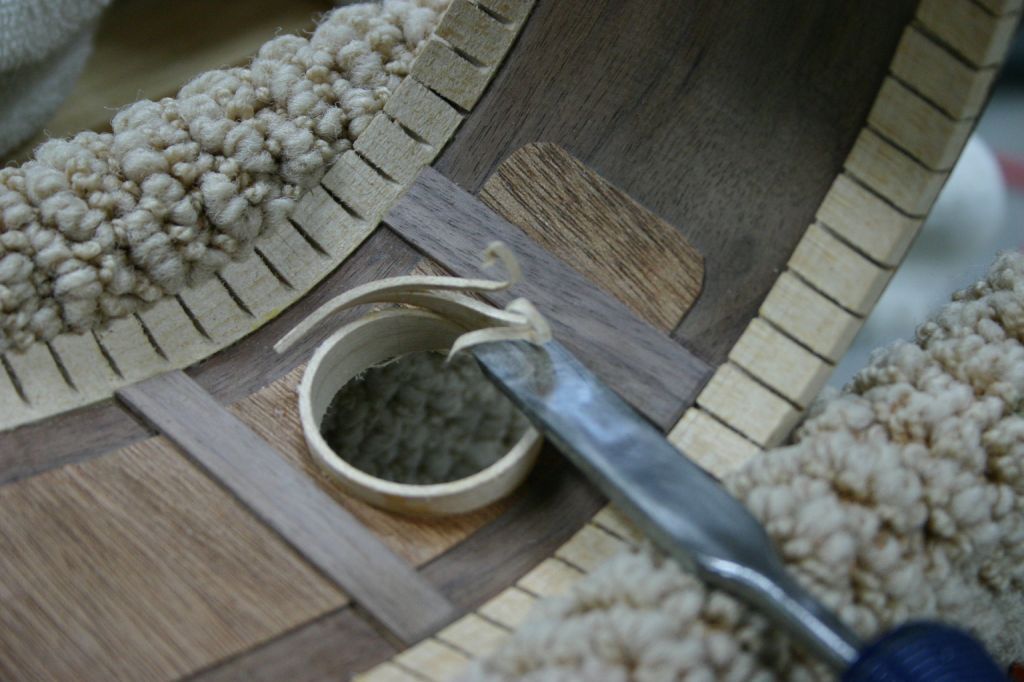
Trim Binding Inside
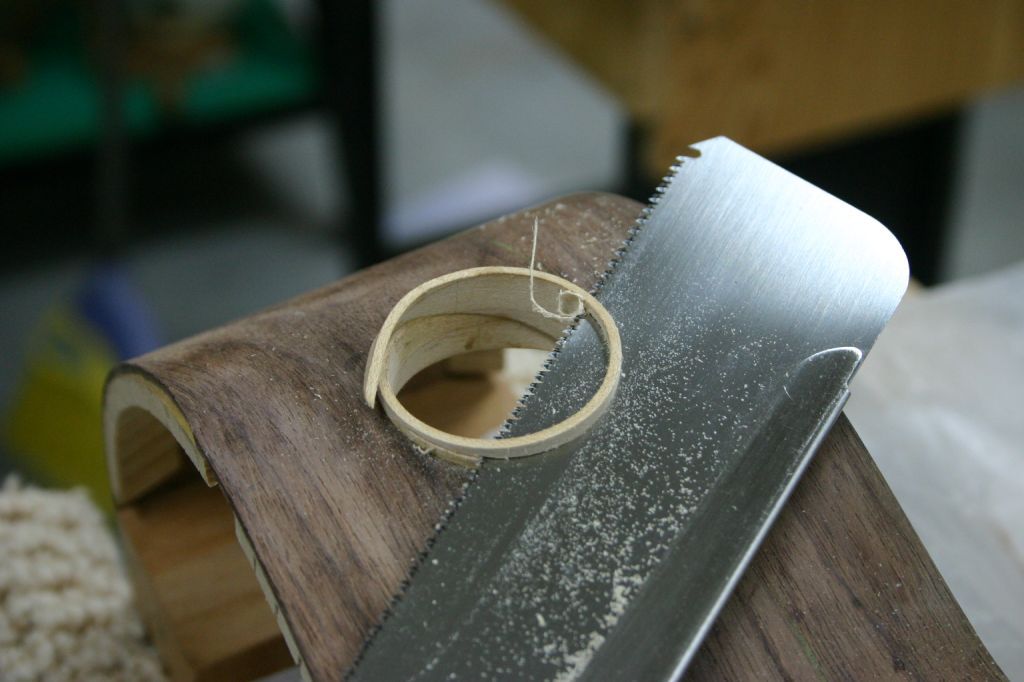
Trim Binding Outside
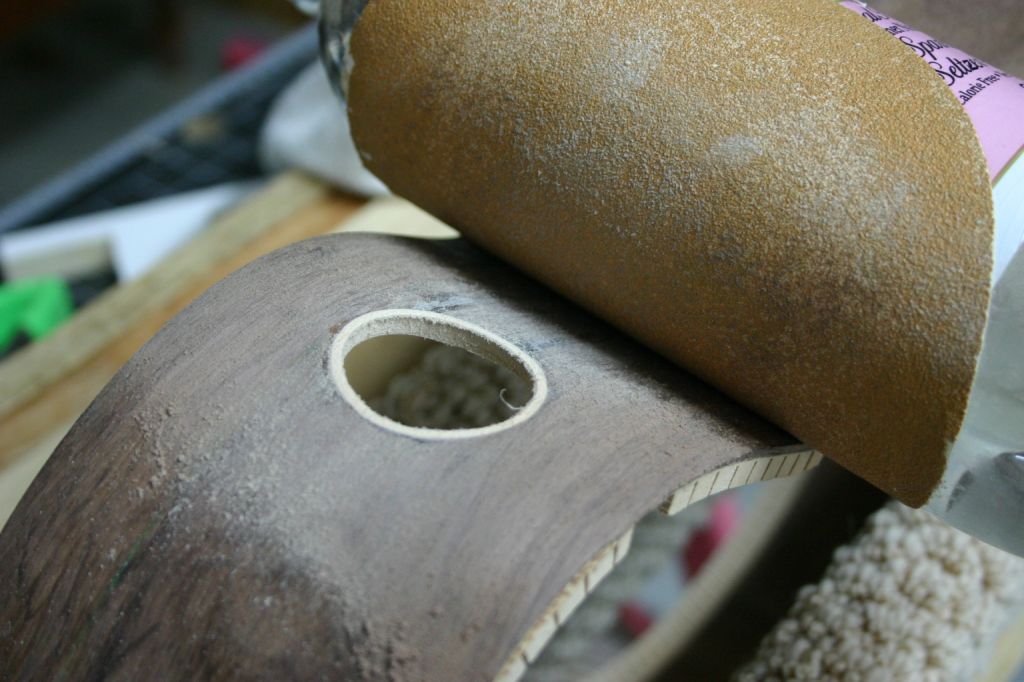
Sand Flush
Blackwater River Guitars
Methods - Soundport Binding
My first side soundport
I decided on the soundport after the linings were on and side braces glued in. I wouldn't advise anyone to drill though side that's already bent, but I decided to do it anyway. The guitar that I'm building for a friend will have a soundport so I thought I should try it on my own first. I supported the underside of the bent side piece, but apparently not good enough and ended up cracking the side. I was able to fix it so it's no big deal. I don't think the crack will be visible when the instrument is finished.
Also, the linings and side braces got in the way.
The next time, I'll drill the soundport hole in the flat, unbent side. And do the binding before the linings and side bracing strips are attached.
One of my concerns was getting a good fit without a real obvious joint. I thought that with such a small diameter hole (1.5 inches), any error would be magnified.
I came up with the idea of using a piece for the binding much larger than the depth needed (the thickness of the side) with a scarf joint that I could slide together when bent into shape to fit the soundport. This way the binding length would not have to be perfect and the scarf would allow me to fit it perfectly. Also, squeezing the scarf together would force the binding tight to the circumference of the soundport hole.
Proceedure for Binding the Soundport
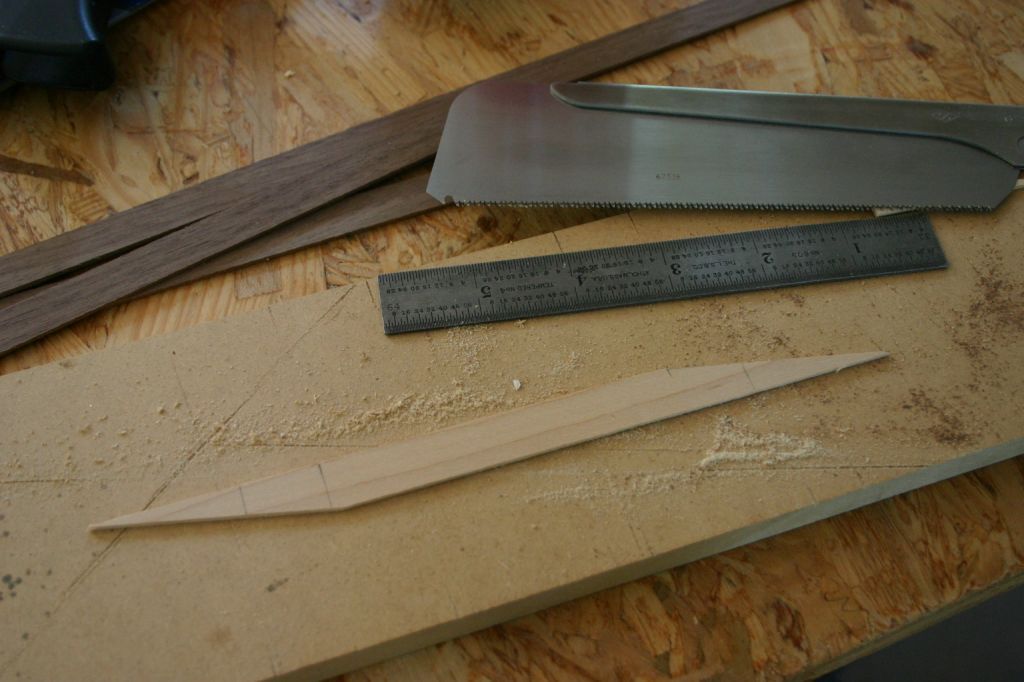
1. Cut the binding piece (maple) wide with a mating scarf cut on each end.
2. Soak the binding in hot water. I put it into a container and poured boiling water over it.
3. Then successively bend the binding into a tighter and tighter radius. I used various containers (bowls, mugs, jars...) as forms, putting boiling water into the container with the binding in it and letting it soak for a few minutes before going to the next smaller container.
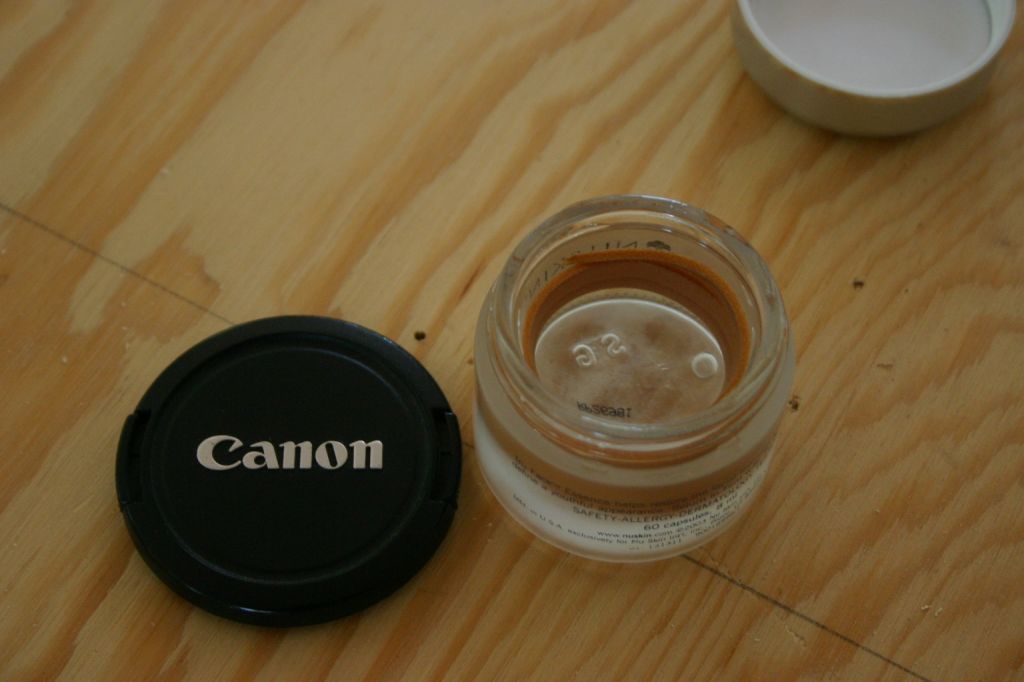
My first plan was to wrap the binding around the container but I found it was much easier to use the inside of the container. It held the binding in place that way.
The picture shows the final jar (a cosmetic jar) with the binding in it.
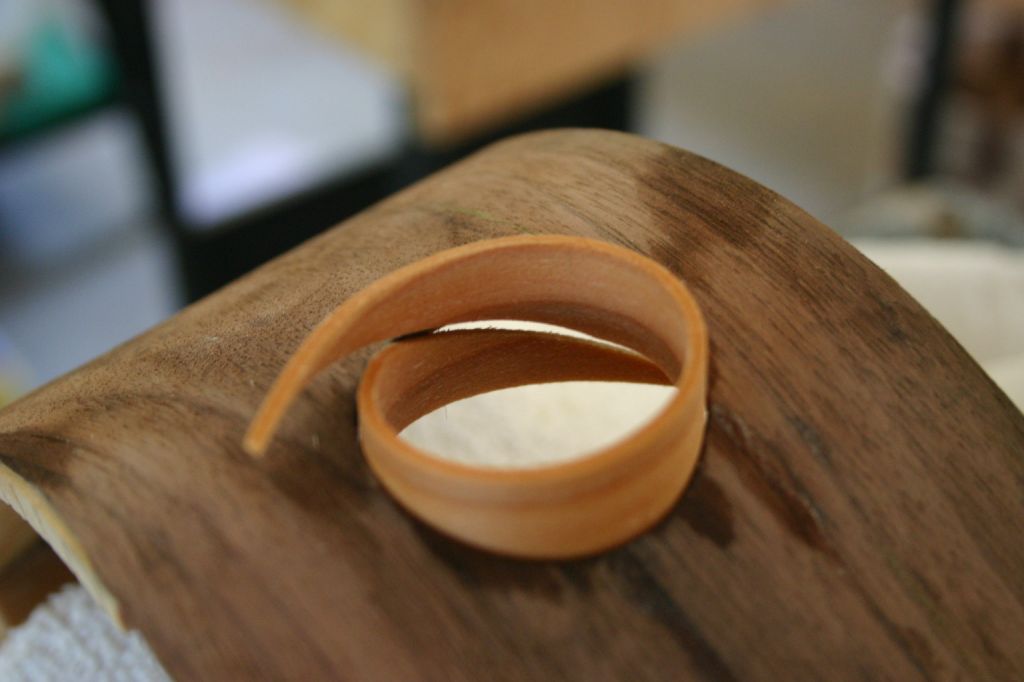
4. Fit it it into the soundport hole. In the picture, you can see how the scarf joint works.
5. Prior to gluing it in, I sanded the soundport hole on a spindle sander, to ensure that the gluing surfaces were flat and vertical.
I clamped a support underneath to keep everything level while sanding.
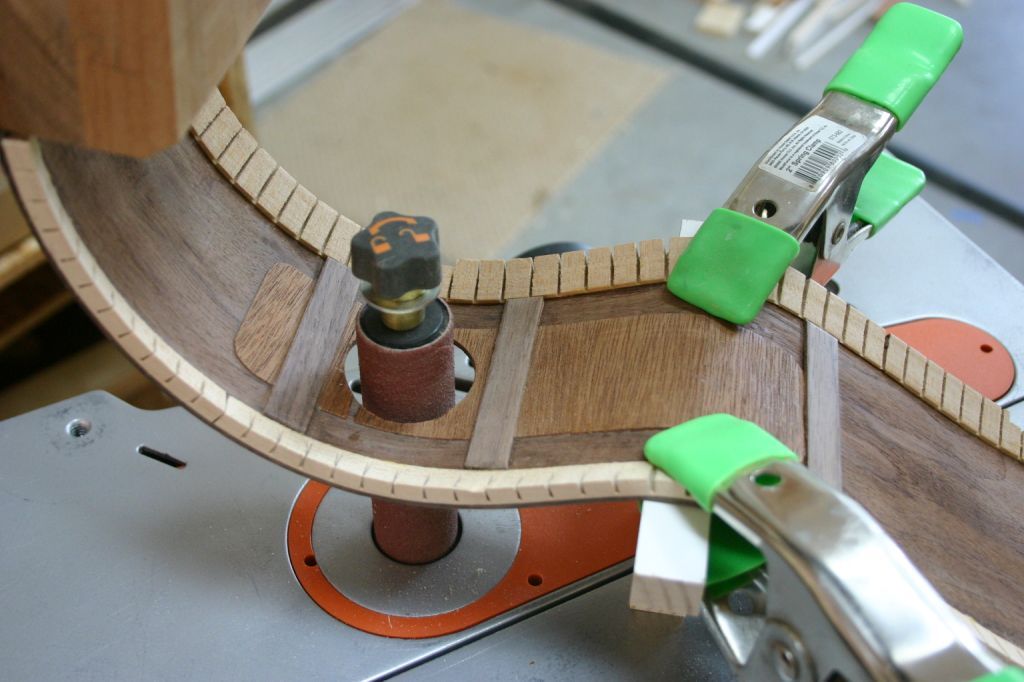
6. Put glue on the scarf and on the gluing surfaces of the hole, fit it in and clamp the scarf. I thought that pressure on the scarf would naturally spread it. This may be true but I still had to wrangle it into a good fit and then clamp it. (See the picture at the top of the left column).
7. When the glue dried, trim and sand flush. (See pictures in the left column).