Canoe 001
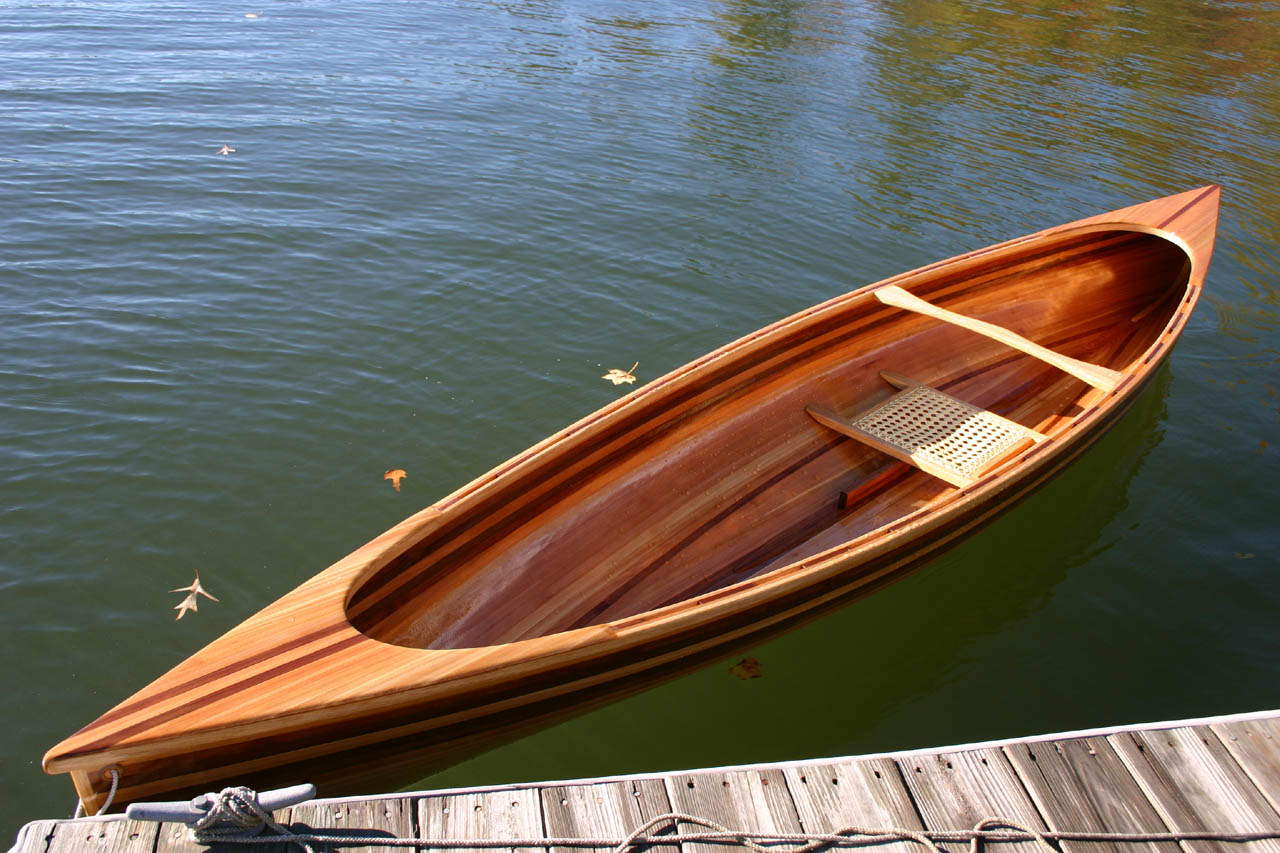
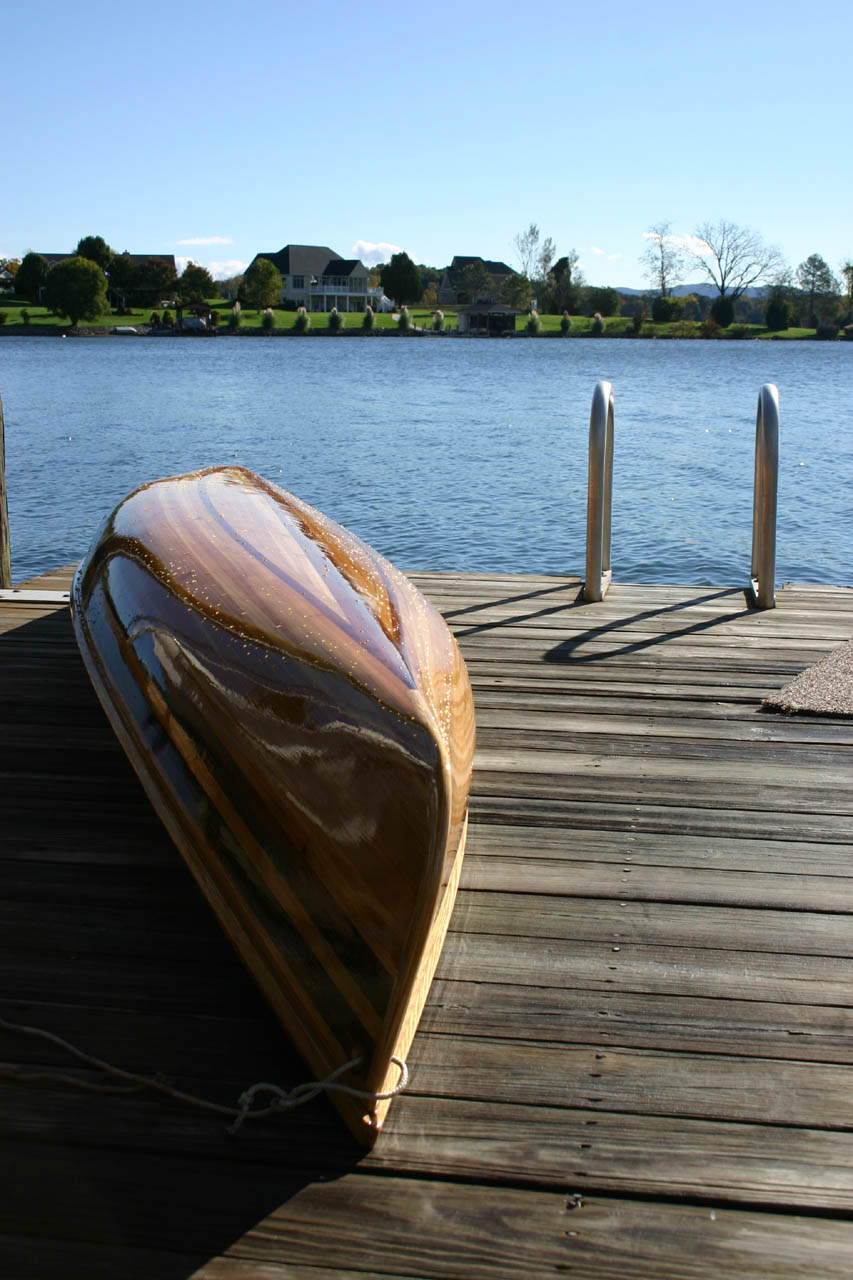
Strip Built Cedar Canoe
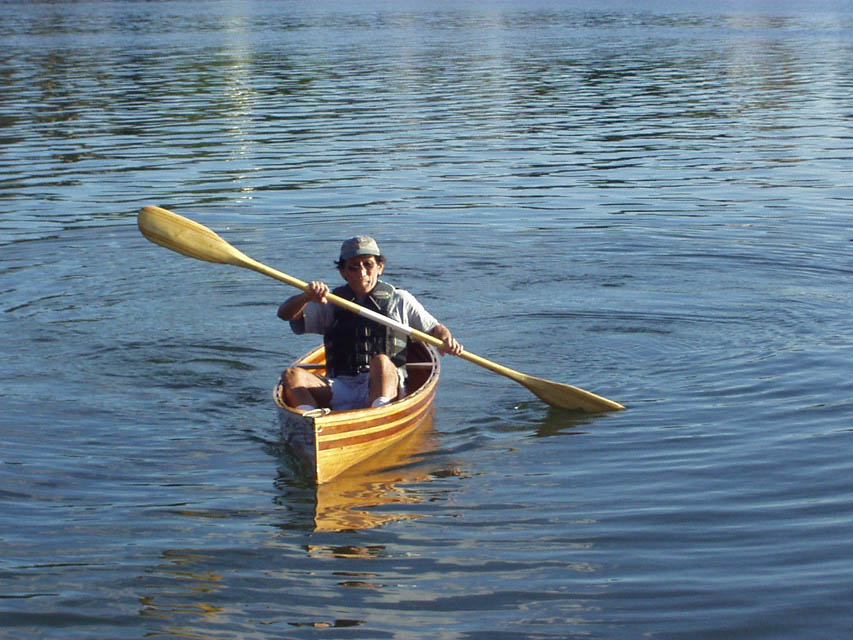
Wee Lassie Launch

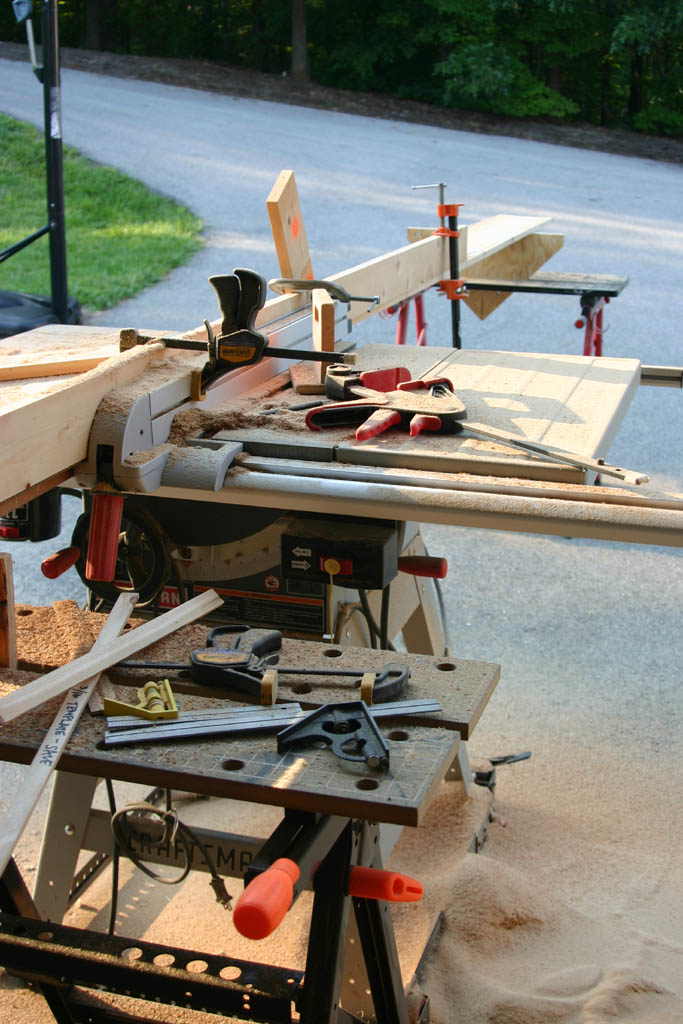
Table Saw setup for ripping cedar boards.

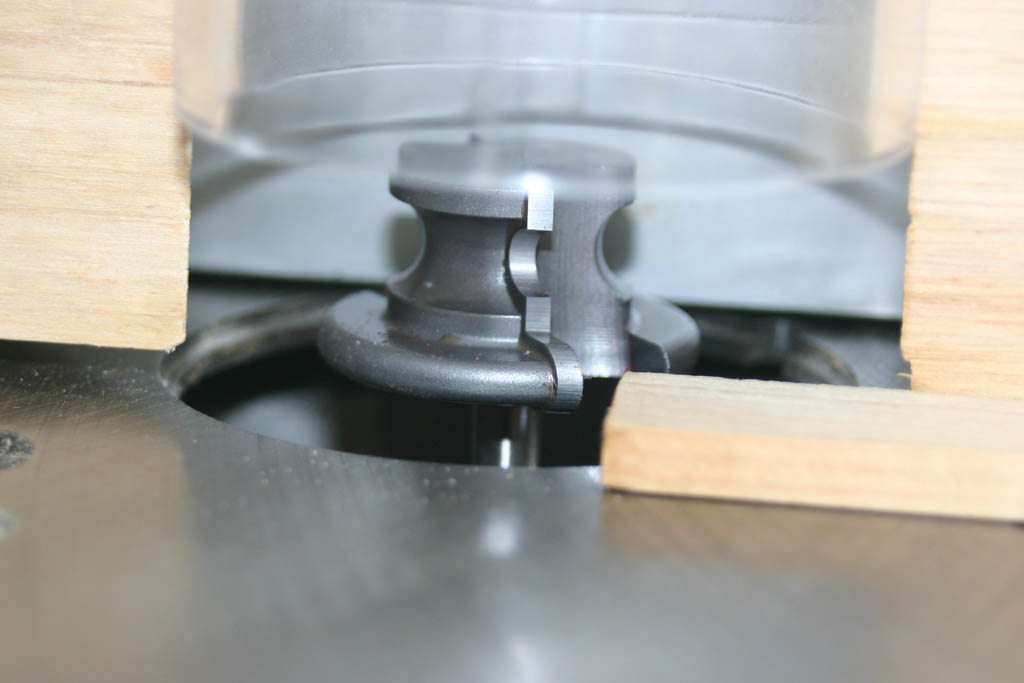
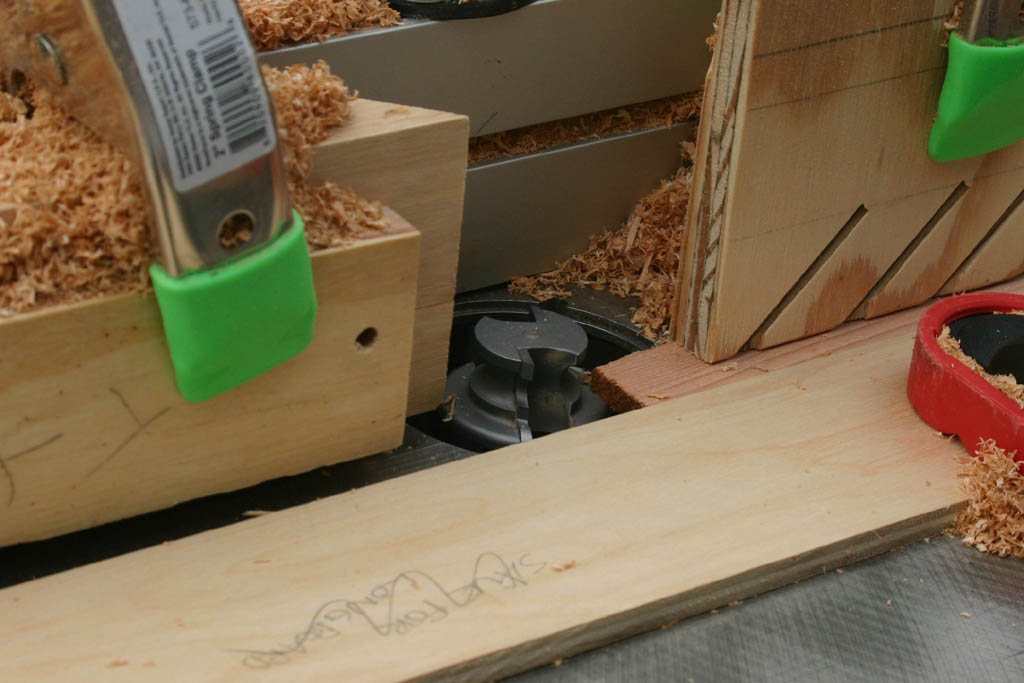
Router Setup for cutting the bead and cove on the edge of the strips
Blackwater River Guitars
Strip Built Cedar Canoe (#001)
Page 1: Prep for Building the Canoe
How I Got Started
My wife, Sally, and I were thinking about buying kayaks.
In searching the Internet for information on kayaks (types, materials, cost), I stumbled upon a picture of a beautiful wooden kayak. The boat was made by Nick Schade, the author of the book, "The Strip Built Sea Kayak." Thinking that I should have a kayak like that, I bought the book and read it through a bunch of times.
Since my woodwoorking experience up to that time had consisted of building shelves for the garage, I thought I should try something simpler.
I found two more books on the strip-building technique; Canoecraft by Ted Moore, and Featherweight Boatbuildng by Henry "Mac" McCarthy.
The boat described in McCarthy's book seemed like a good option - the "Wee Lassie" was a kind of a hybrid canoe/kayak - a canoe where you sit in the bottom and use a double blade paddle. These boats are sometimes referred to as open kayaks or minimalist kayaks (since they have no deck).
Building the Wee Lassie
The Section Molds
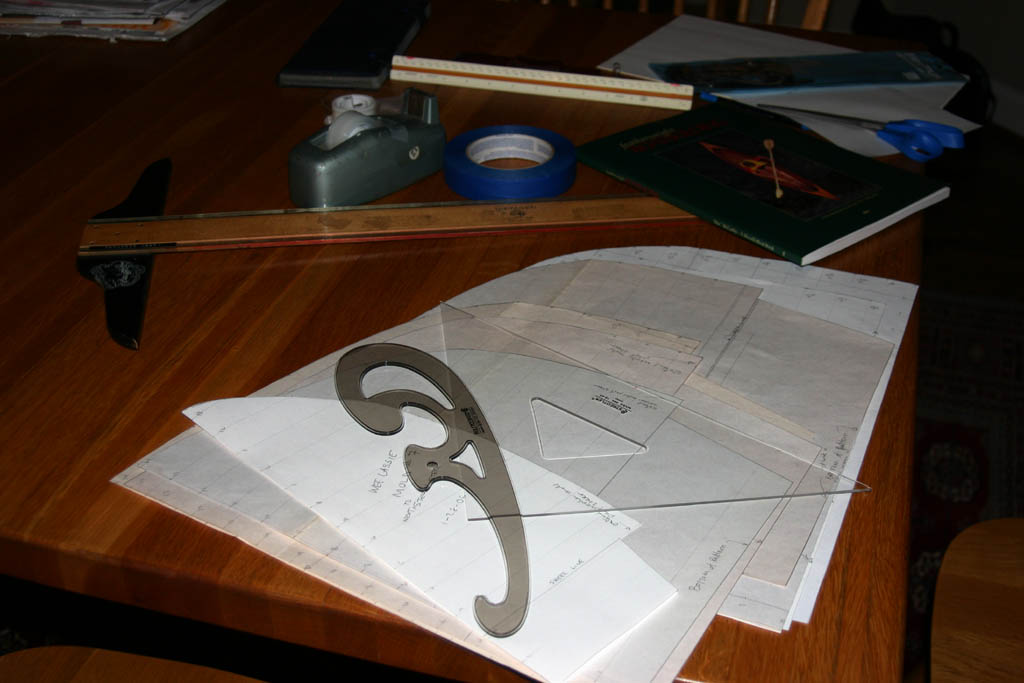
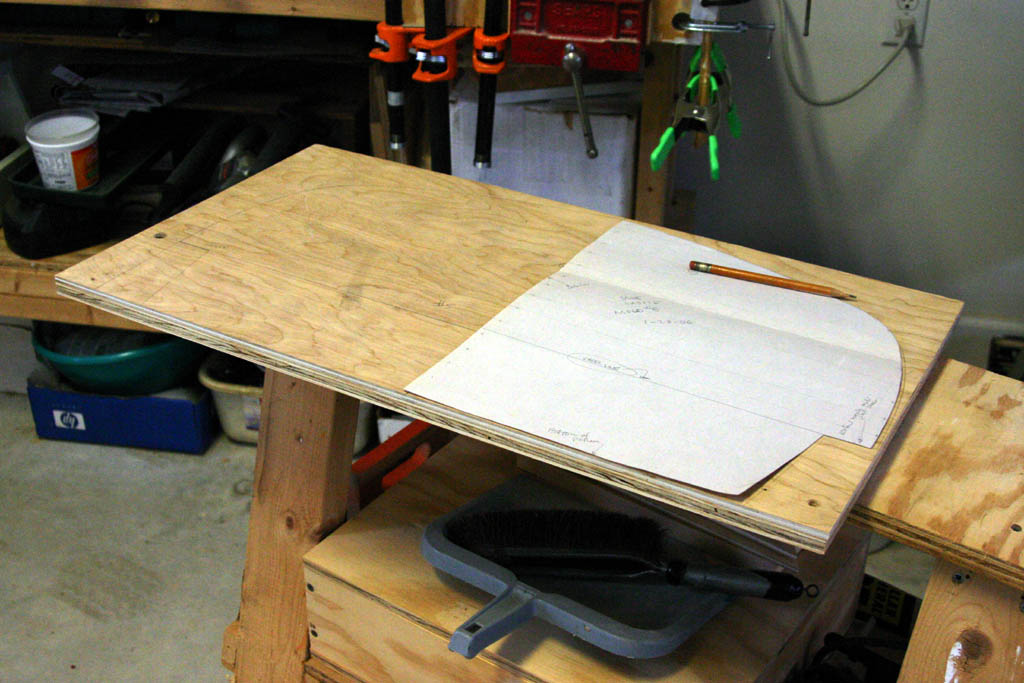
Using the dimentions in the book, "Featherweight Boats," I first drew the section molds on paper and cut them out...
then transfered the mold patterns to plywood and cut them out (photo below).
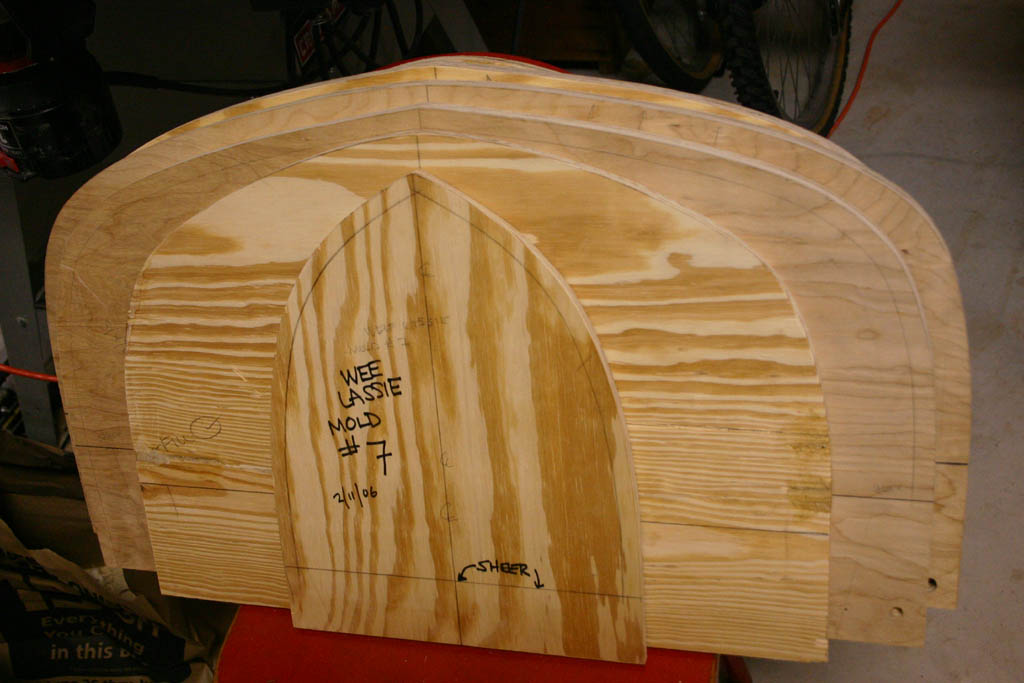
The picture at bottom right shows the completed section molds.
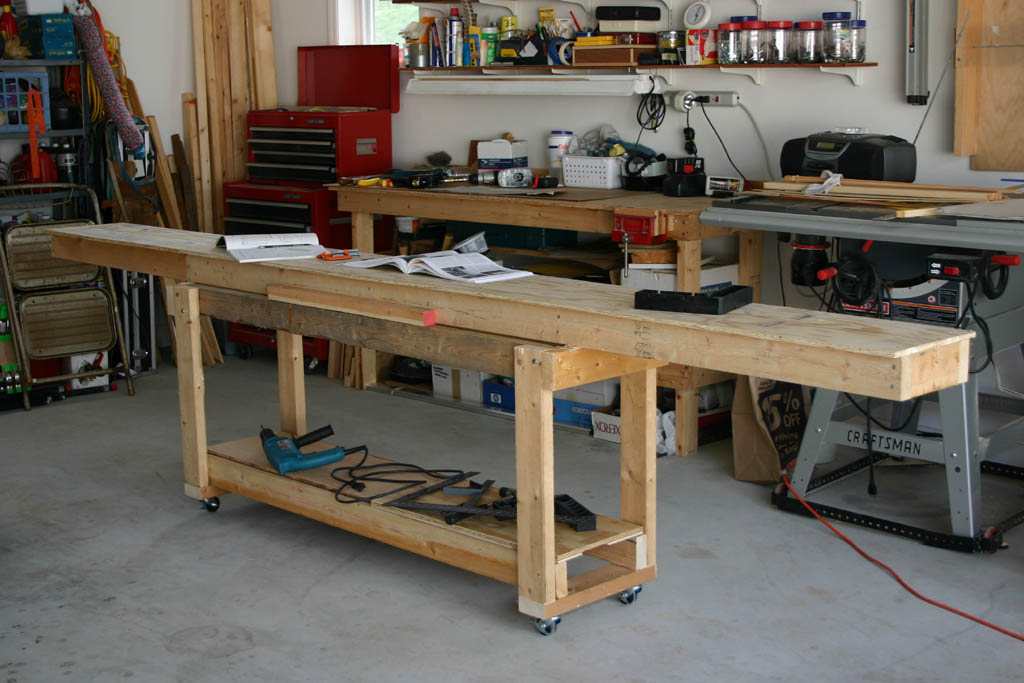
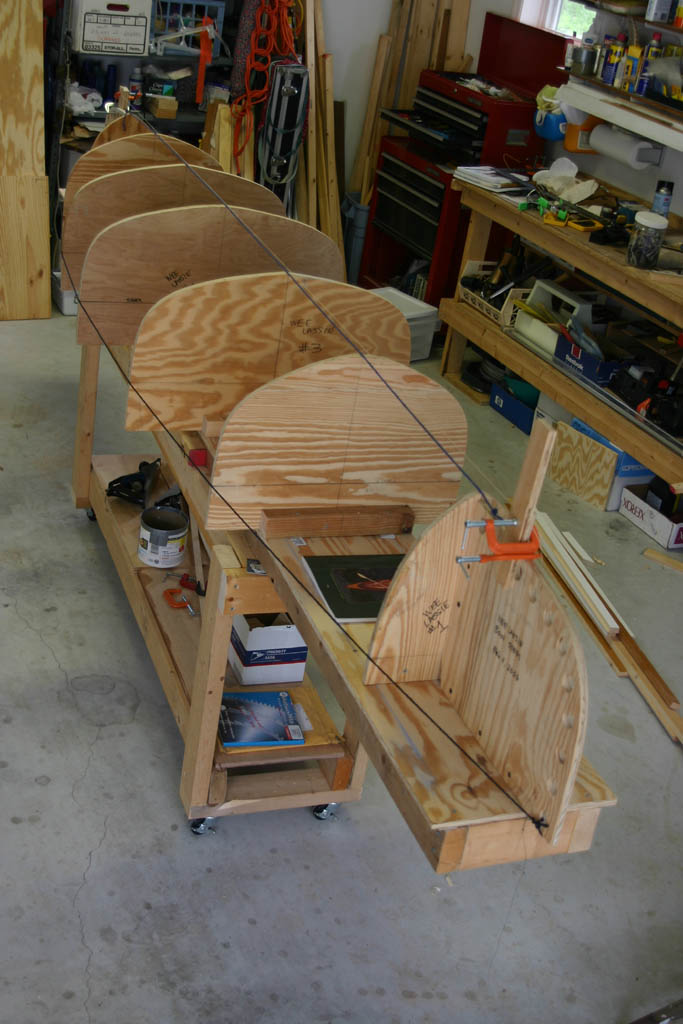
The Strongback
The strongback was made with 2x4s and plywood.
The section molds were then aligned and mounted on it.
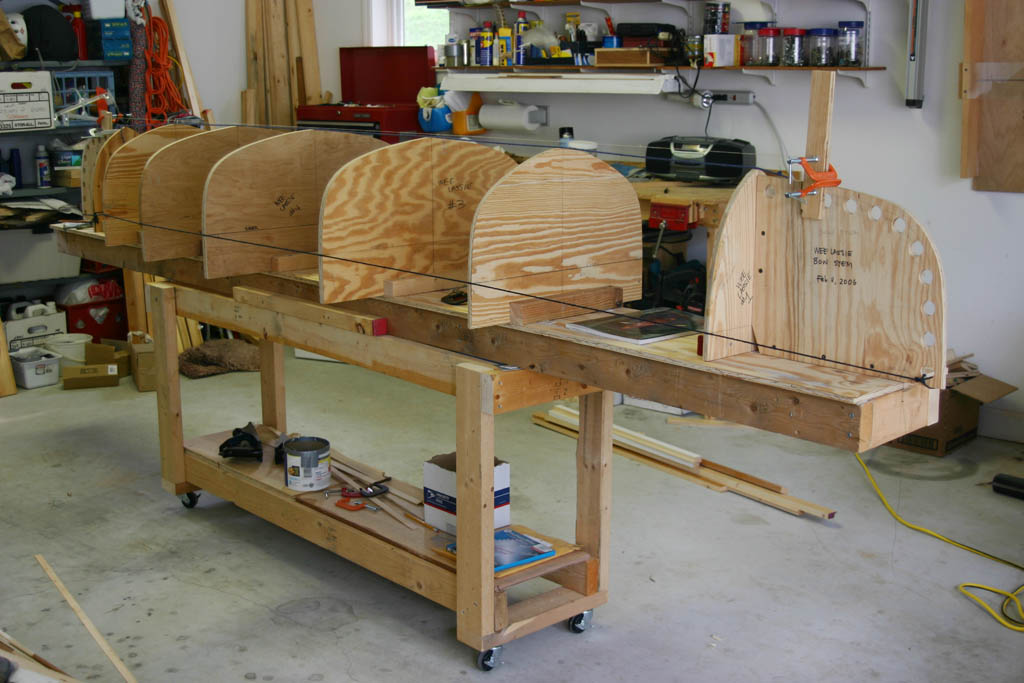
Although Ted Moore (Canoecraft) suggested securing the strongback to the floor so it wouldn't move around as you built the hull, I mounted the strongback on wheels so that I could move the boat out of the garage for sanding. I was really glad I used the wheels because you really want to be outside when you sand the hull.
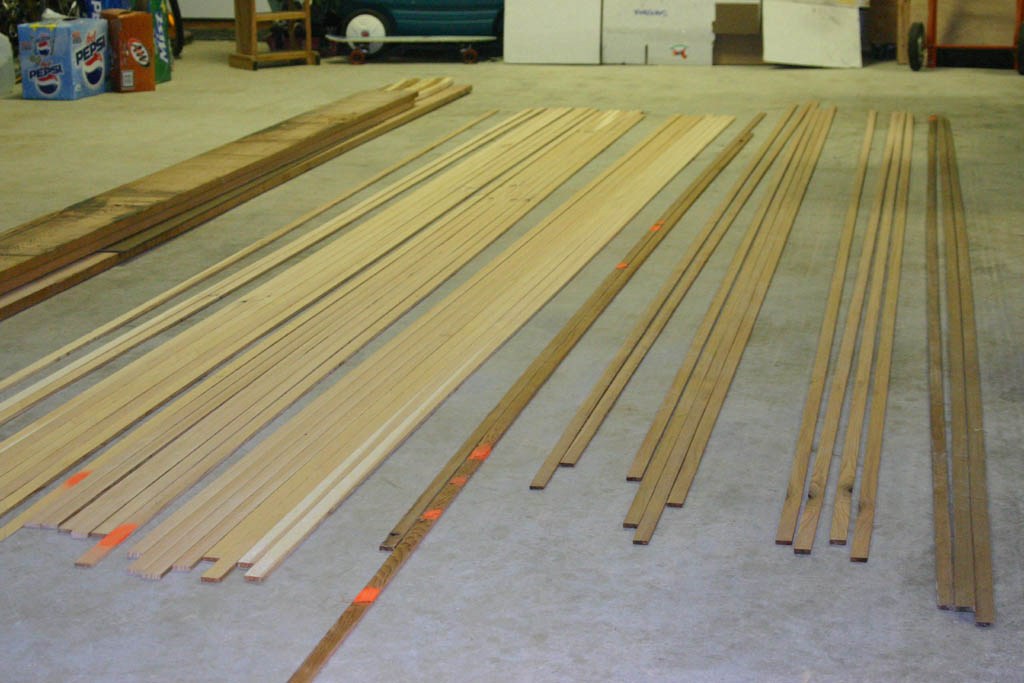
The Strips
The pictures in the left column show the setup for cutting the strips that will become the hull.
I used a Matsushita, narrow kerf (1/16"), 36 tooth, 7-1/4" blade, suggested by a friend who built a bunch of these boats. The narrow kerf saves a lot of wood from becoming sawdust.
I ripped the strips to slightly less than 1/4" thick.
The pictures below show some of the strips sorted by color and a test pattern of strips.
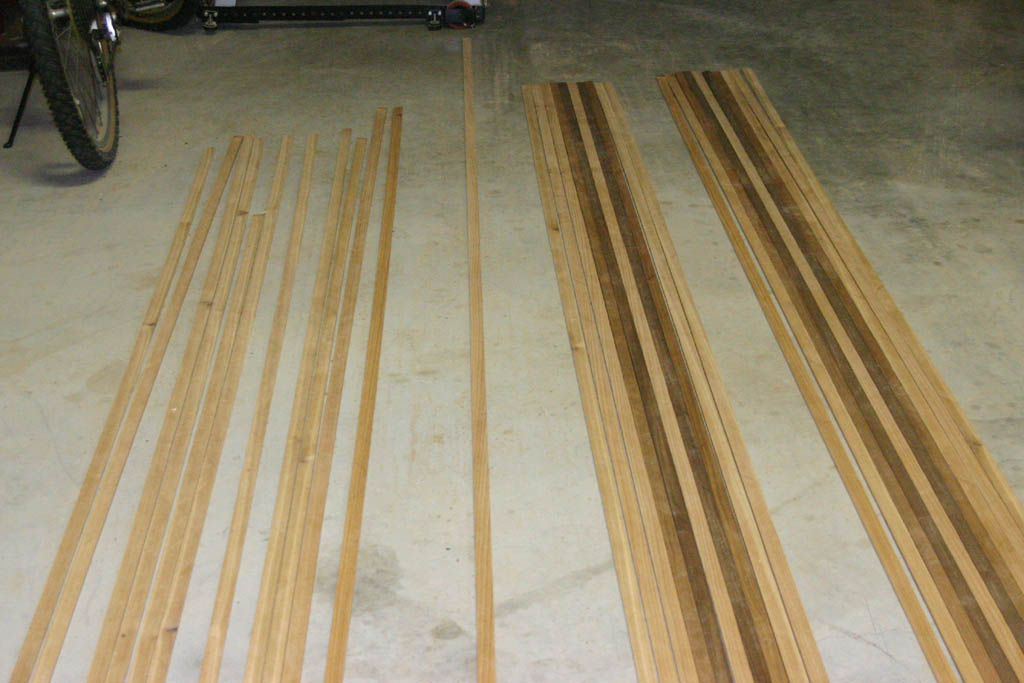
Bead and Cove
One edge of each strip has a bead (rounded over) and the other has a cove. This serves the same function as tongue and groove, but is more flexible, allowing the edges to be joined at any angle.
The bead and the cove are milled using a router. I got a combination bead and cove bit from MLCS,made fro boatmakers. The photo below on the left shows the combination bead and cove bit. You set the bead or cove cut by adjusting the bit to the appropriate height.
Next Page: "Stripping" the Hull